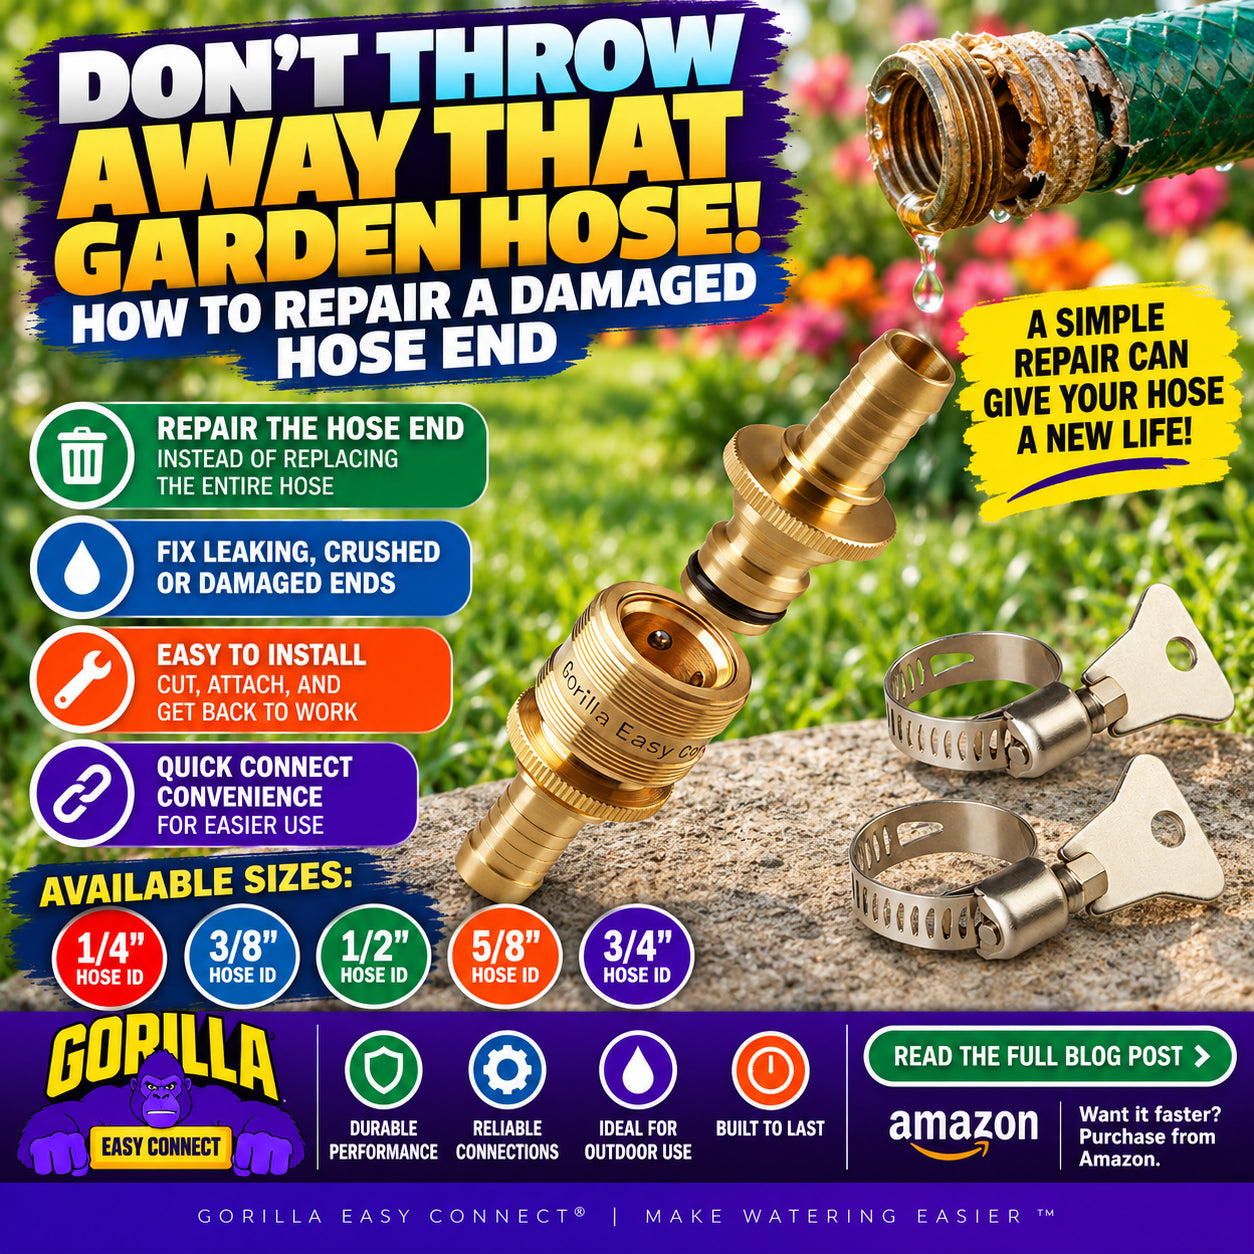
A damaged fitting at the end of your garden hose doesn't always mean it's time to throw the entire hose away.
If the hose itself is still in good condition but the end fitting is cracked, crushed, leaking, or otherwise damaged, you may be able to remove the damaged section and install a hose repair fitting instead.
It's a relatively simple repair that can help you get more use out of a hose you might otherwise replace.
How Does a Garden Hose End Get Damaged?
The ends of a garden hose take a surprising amount of abuse.
Common causes of damage include:
- Driving or rolling equipment over the fitting
- Dropping heavy objects on the hose end
- Repeatedly pulling the hose by the fitting
- Bent or damaged threads
- Corrosion or mineral buildup
- Wear where the fitting attaches to the hose
- Repeated connecting and disconnecting of watering equipment
Sometimes the fitting fails even though the remaining length of hose is perfectly usable.
Before You Throw Away the Hose, Inspect It
First, determine whether the problem is limited to the end of the hose.
Uncoil the hose and inspect its overall condition. Look for cracks, splits, severe kinks, bulges, or deterioration along its length.
If the hose itself is badly deteriorated in several areas, replacement may make more sense. But if the damage is concentrated around the end fitting, a hose repair kit may provide a practical solution.
Step 1: Remove the Damaged Hose End
Start by shutting off the water and disconnecting the hose.
Using an appropriate cutting tool, carefully remove the damaged end of the hose. The goal is to make a clean, straight cut into undamaged hose material.
Don't simply cut directly behind the old fitting if the hose material there is cracked or stretched. Move farther down the hose until you reach material that is still in good condition.
Step 2: Determine the Correct Hose Size
This step is important because garden hose repair fittings are not necessarily one-size-fits-all.
The repair fitting needs to match the hose size it is designed to fit.
Check the size of your hose and choose the appropriate repair kit before beginning the repair.
Using the correct size helps the repair fitting properly engage the inside of the hose and create a secure connection.
Step 3: Install the Hose Repair Fitting
Once the damaged section has been removed, install the repair fitting according to the instructions for your repair kit.
The fitting is designed to replace the damaged hose end and provide a new connection point for your watering equipment.
Take your time during installation. Make sure the hose is properly positioned and the repair components are installed securely before turning the water back on.
Step 4: Test the Repair
After installation, reconnect the hose and slowly turn on the water.
Inspect the repaired area carefully.
Look for:
- Water leaking around the repaired end
- Movement between the hose and repair fitting
- A fitting that doesn't appear properly seated
- Spraying or dripping around the connection
If everything remains secure and dry, your hose can go back to work.
Repairing a Hose Can Make More Sense Than Replacing It
Imagine having a long garden hose with one damaged fitting at the very end.
Replacing the entire hose because of a few inches of damage can be unnecessary when the rest of the hose is still in usable condition.
A repair kit allows you to address the damaged area instead of automatically discarding the entire hose.
Before Replacing Your Hose, Ask:
- Is the damage limited to the hose end?
- Is the remaining hose material still flexible and in good condition?
- Are there any major cracks, bulges, or splits elsewhere?
- Can the damaged section be cut away cleanly?
- Is a correctly sized repair fitting available?
Repair the Hose and Add Quick-Connect Convenience
The Gorilla Easy Connect® hose repair system offers another advantage: the repaired hose can become part of a quick-connect watering setup.
That means you're not simply replacing a damaged end. You're also adding the convenience of a quick-connect fitting that can make connecting and disconnecting compatible watering equipment easier.
Instead of repeatedly threading and unthreading accessories at the repaired hose end, compatible Gorilla Easy Connect® components can be connected and disconnected through the quick-connect system.
Gorilla Easy Connect® Hose Repair Kit
The Gorilla Easy Connect® Quick Connect Female Hose Repair Kit with Male Connector provides a practical option for repairing a damaged hose end while incorporating the hose into the Gorilla Easy Connect® system.
If the rest of your hose is still in good condition, repairing the damaged end may help you avoid replacing the entire hose.
Shop Gorilla Easy Connect® Hose Repair Kit →
🚚 Want It Faster?
Purchase through Amazon for faster delivery.
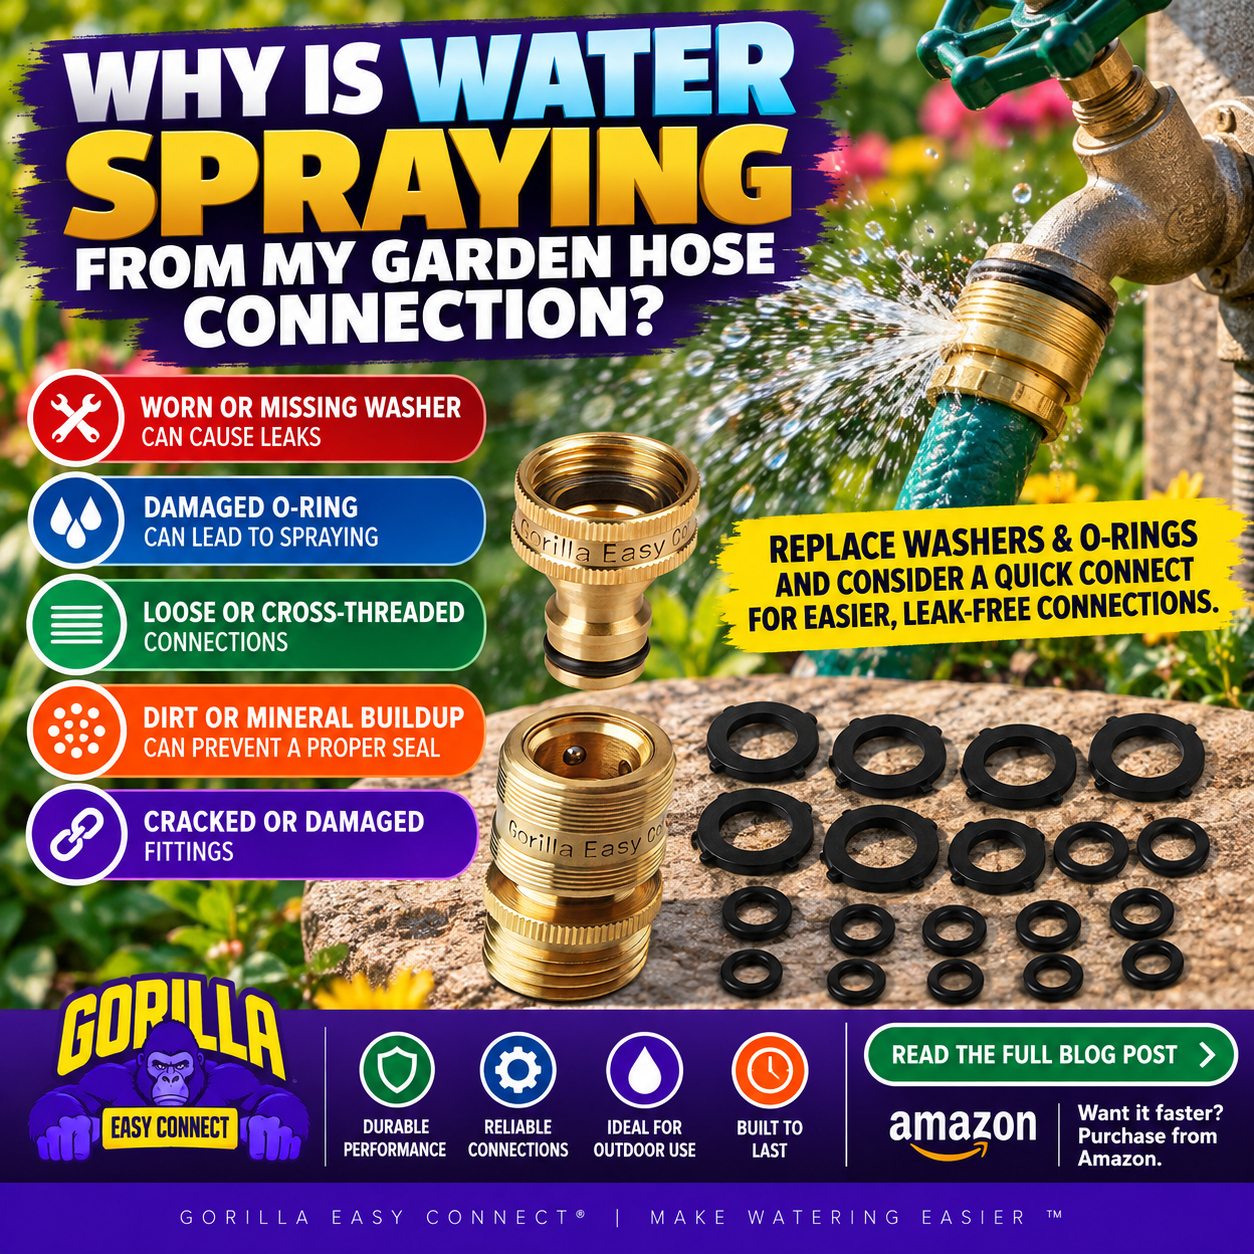
Don't Forget to Check the Washer
After repairing the hose, make sure the sealing washer is properly seated before putting the hose back into service.
A good fitting still needs a proper seal. If you notice water escaping from the threaded connection, inspect the washer before assuming there's a problem with the repair itself.
The Bottom Line
A damaged hose end doesn't necessarily mean the entire garden hose belongs in the trash.
If the rest of the hose is still in good condition, cutting away the damaged section and installing the correctly sized repair fitting can give the hose a new usable connection.
And with a Gorilla Easy Connect® hose repair fitting, you can add quick-connect convenience at the same time.
Repair the damaged end. Keep the good hose. Make watering easier with Gorilla Easy Connect®.